What to Do After Replacing MAP Sensor: 5 Important Tasks
The Manifold Absolute Pressure (MAP) sensor of the car gets dirty or damaged with time. Sometimes, the situation gets beyond repair. And the MAP sensor needs to be replaced immediately. Besides that, one must know what to do after replacing MAP Sensor too.
Because the MAP sensor might fail to work even after a decent replacement. There are certain tasks to do after the replacement to make sure that the sensor is working properly. It might not work as desired if these tasks are not performed at the correct time and chronologically.
You have to understand the tasks properly to avoid any mistakes after replacing the MAP sensor. And you will need more details about that. So keep reading!
What to Do After Replacing MAP Sensor?
After the replacement of a MAP sensor, you have to perform the following process given below:
- Recheck the connection of the sensor after the replacement process.
- Make sure the MAP sensor is calibrated properly.
- Observe the Check Engine Light. It will turn off after a successful replacement.
- Test the engine of the car.
- Reset MAF Sensor
Sometimes the car might have MAF or Mass Air Flow Sensors instead of the MAP sensor. But you don’t have to be worried. Because these tasks are equally applicable to MAF sensors too. Now let’s see the details of these tasks that should be done after replacing the MAP sensor.
Related Post: Understanding The Acura VSA Light
Task 1: Double Check All The Connections
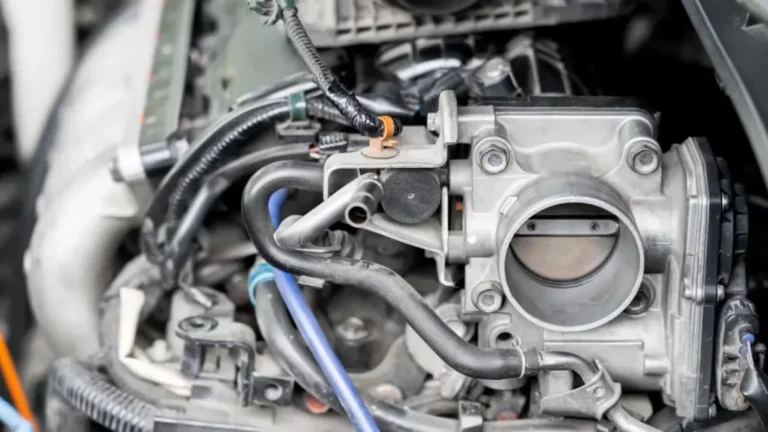
The first thing to do is to check all the connections again. Properly replacing the MAP sensor(Our Pick) depends largely on the connection. You will find the MAP sensor in between the intake manifold and the pressure regulator. Check all the connections properly once you locate the sensor.
The sensor comes with three wires for its functioning. These wires are generally colored red, green, and white. The red wire is the 5-volt reference wire. And the green and white wires are for signal and grounding purposes, respectively. Make sure all these wires are connected correctly to the ECU(Electronic Control Uni)t.
Task 2: Calibration
Another important factor behind the correct result of the MAP sensor is calibration. Calibration is the process of configuring any device for accurate outputs. Like all other car sensors, MAP sensors also need a thorough calibration for measuring errors and the best output.
Or else it will not work properly and provide the wrong outputs. Then the function of the engine will be disrupted. So, do not forget to calibrate the MAP sensor before getting it to work.
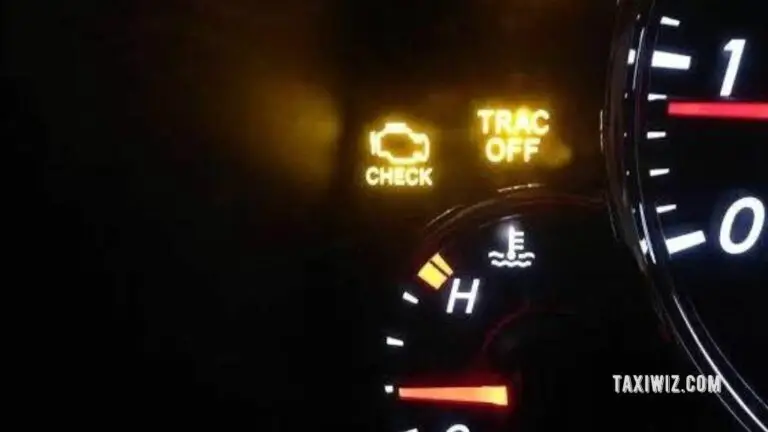
Task 3: Make Sure The Check Engine Light Is Off
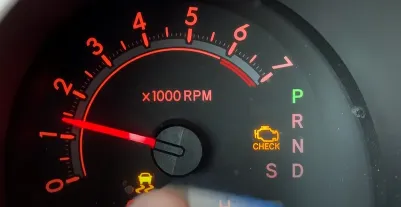
The next thing you have to do is to check the engine light. This light turns on when there is any problem with any component of the engine.
The check engine light turns on when the sensor does not work properly. However, the light should go off once you replace the MAP sensor. If it is still on, there is something wrong with the replacement.
Then you would have to reinstall the sensor. And if the check engine light is off after the replacement, you are ready to go.
Task 4: Test The Engine
The last thing you have to do is to check the engine. The performance of the engine is directly dependent on the MAP sensor. This sensor sends the instant manifold pressure to the car’s ECU. Then the ECU determines the amount of fuel needed for combustion.
If the MAP sensor is damaged or dirty, the MAP will not send the correct information. Consequently, the ECU will not be able to calculate the correct amount of fuel. Thus the engine performance will be affected.
So once you replace this sensor, the engine should perform perfectly. After the replacement, you will have to check if the performance is alright. There are certain factors on which you can make the decision.
- It will combust an accurate amount of fuel
- The power delivery will be optimum too
- Also, the emission of the engine will contain less carbon monoxide and NOx gasses
So, test your engine by checking these factors after replacing the MAP sensor.
Task 5: Reset MAF Sensor
After completing all previous check list now its time to reset your MAF sensor.
Related Post: What To Do When Check Engine, VSC, And Trac Off Warning Light Comes On?
Frequently Asked Questions (FAQs)
These are some of the commonly asked questions by people about unplugging a MAP sensor.
Should I disconnect the battery when changing the MAP sensor?
Yes, you should disconnect the battery when changing the MAP sensor. You have to disconnect the negative cable of the battery before you start the work. This will save the car from getting damaged during the replacement process. Also, the trouble codes and computer of the car will get reset.
What happens if the MAP sensor is dirty?
The function of the MAP sensor will be disrupted if it is dirty. It is normal for the sensor to get dirty after a long period of use. This can enhance the fuel consumption of the car. Moreover, the vehicle might stall after ignition. The air-fuel ratio of the combustion will be hampered too.
What happens if you install the wrong MAP sensor?
The performance of the engine will be degraded severely if you install the wrong MAP sensor. It will affect the air-fuel ratio. This ratio will become too rich or too lean. Then the ignition will happen at the wrong time inside the engine. This will decrease the power output too.
Conclusion
The MAP sensor has a direct role in the power delivery of the engine. For this reason, the damaged MAP sensor must be replaced as soon as possible.
And it must be checked properly after the replacement. Otherwise, the sensor might not work properly. Then the replacement will be useless, and all the labor will go to waste. So don’t forget to check the MAP sensor after replacing it.
Related Posts: