Where Is The Transmission Pressure Control Solenoid Located?
The transmission pressure control solenoid is the chief component of automatic transmitters as it ensures seamless gear shifting by regulating the hydraulic pressure.
But where is the Transmission Pressure Control Solenoid located?
While the exact position of the transmission solenoid depends from vehicle to vehicle, normally it’s found inside the ATF pan or in front of the gearbox.
Here, we will tell you more about it and also teach you how to replace it should the need ever arise.
Transmission Pressure Control Solenoid Location
The two common places are inside the ATF pan & in front of the gearbox. Let’s learn more in detail.
Inside ATF Pan
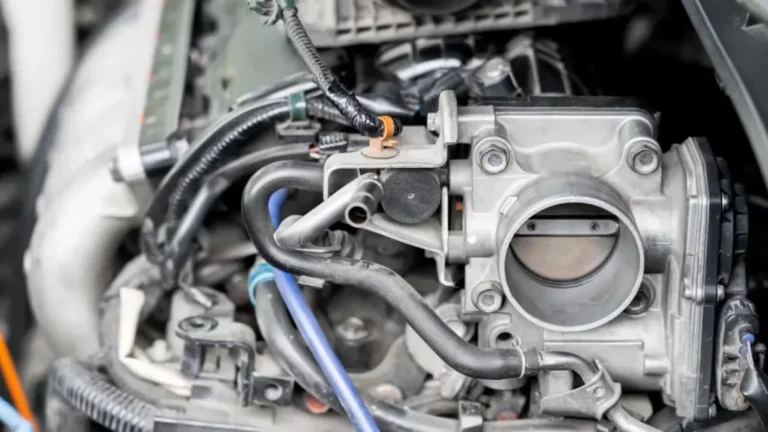
More often than none, the transmission pressure control solenoids can be found located within the automatic transmission fluid pan. This integral component is placed either at the bottom section of the transmission, at the front, or on the sides of the gearbox,
Vehicles that have ATF pans situated underneath the gearbox enjoy the distinct advantage of getting easier access. Removing the ATF pan is a lot more convenient than having to remove the entire gearbox from the vehicle’s assembly.
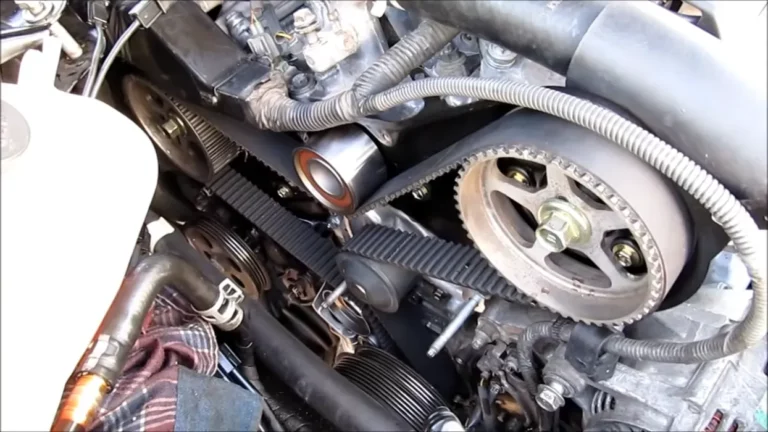
In Front of the Gearbox
It’s a prevailing feature observed in gearboxes equipped with dry clutches. In such instances, the mechatronics unit is positioned at the forefront of the gearbox.
These units were designed as sealed oil pans, which can be conveniently detached by disengaging them from the clutch forks. Keep in mind, removing the unit entails that you’re extracting it as a whole entity – with the hydraulic oil inside; so, do be careful.
Now, to make things a bit easy for you we’ve created a list of the most commonly used brands of vehicles and where & how you can access the transmission pressure control solenoid:
- General Motors (GM) vehicles:
- Located on the valve body inside the transmission.
- Accessible by removing the transmission pan and filter.
2. Toyota vehicles:
- Typically found on the valve body within the transmission.
- Depending on the model you may need to remove the transmission pan and filter.
3. Honda vehicles:
- Mostly situated on the outside of the transmission housing, near the front of the side.
- Accessible without needing to remove the transmission pan.
4. Ford vehicles:
- Found on the valve body inside the transmission.
- Accessible by removing the transmission pan and filter.
5. Chevrolet vehicles:
- Positioned on the valve body inside the transmission.
- Can be accessed by removing the transmission pan and filter.
6. Nissan vehicles:
- Typically located on the valve body inside the transmission, you may find it located outside for some models.
- Access may require the removal of the transmission pan and filter.
7. Dodge vehicles:
- Located inside the transmission within the valve body.
- Need to remove the transmission pan and filter first.
8. BMW vehicles:
- Positioned on the valve body inside the transmission.
- Accessible by removing the transmission pan and filter.
9. Mercedes-Benz vehicles:
- Usually located on the valve body inside the transmission.
- Accessible by removing the transmission pan and filter.
10. Audi vehicles:
- Positioned on the valve body inside the transmission.
- Accessible by removing the transmission pan and filter.
Understanding the Transmission Pressure Control Solenoid’s Functions & Importance
In this section, you’ll learn about how this crucial component works to ensure seamless gear shifting.
- Regulates Hydraulic Pressure:
Once it receives signals from the TCM or ECM, it modulates the pressure in the perfect manner to deliver smooth gear shifts. Many mechanics call it an electronic valve as it adjusts the hydraulic pressure within the transmission system.
- Facilitates Gear Changes:
Since it controls the hydraulic pressure very precisely, it helps to deliver efficient gear changes. Moreover, it regulates the pressure on clutch packs and bands, which allows them to engage and disengage effortlessly.
This in turn prevents harsh shifting, hear slippage, and/or potential damage to the transmission system.
- Optimizes Shifting Timing:
As the device receives input from multiple sensors such as vehicle speed and throttle position it is able to adjust the pressure to ensure timely gear change.
Thanks to the time optimization, not only do you enjoy smooth acceleration, but also improved fuel efficiency and an overall enhanced driving experience.
- Prevents Transmission Damage:
Thanks to proper regulation of hydraulic pressure, the excessive stress on the transmission components.
By ensuring that the pressure remains within the safe operating limits, it avoids pressure fluctuations which could lead to wear and tear. By protecting the transmission components, it helps to reduce repair costs and increases its longevity.
How To Replace the Transmission Pressure Control Solenoid?
In this section, you’ll find a step-by-step guide on how to replace the transmission pressure control solenoid if the need arises:
- Gather the Needed Tools: As always, the first step is to gather all the required tools, such as sockets, wrenches, and torque wrenches. You also should keep safety gear such as gloves and eyewear in hand.
- Locate the Solenoid: Use your vehicle’s manual or watch YouTube videos to learn about the exact location of the solenoid.
- Disconnect the Battery: To prevent chances of accidents, disconnect the negative terminal of the vehicle’s battery system.
- Drain the Transmission Fluid: To do this, you need to position a drain pan beneath the transmission and loosen the bolts & remove the pan to drain the fluid.
- Remove the Old Solenoid: You’ll need to first remove all the components obstructing your access to the solenoid such as brackets, electrical connectors, or other parts. Next, carefully disconnect all the electrical connectors from the solenoid, then unscrew it from the valve body.
- Install the New Solenoid: Place and align your new transmission pressure control solenoid with the valve body. Once it’s been perfectly aligned, attach it using bolts and screws. Now, you’ll need to carefully reconnect the electrical connectors to the solenoid.
- Reassemble the Transmission: Once you’ve positioned the transmission pan back in the correct placement, tighten the bolts to the specified torque. Now you’ll need to refill the transmission with the right fluid.
- Reconnect the Battery: After you’ve securely attached the new solenoid, it’s time to reconnect the negative terminal of the vehicle’s battery.
- Test and Verify: To test if you’ve properly reinstalled the new solenoid, you need to start your vehicle keeping sure to keep it in park or neutral. Then test the gear shifting functions by moving through the different gears. You’ll need to carefully monitor the transmission operation for any irregular behavior, leaks, or warning lights.
Please keep in mind that this guideline is a general one, and some of the specific steps may vary for you depending on your vehicle’s model. Thus, do refer to your vehicle’s manual while you are working.
Frequently Asked Questions (FAQs)
1. Can a faulty solenoid cause damage to the transmission?
Yes, if not addressed promptly, a faulty solenoid can lead to transmission issues.
2. Do I need any special tool to access the solenoid?
Not really. You can make do with basic hand tools such as sockets and wrenches.
3. Is it really necessary to drain the transmission fluid before I replace the solenoid?
To avoid spills and enjoy a smooth process, it is advised to drain the fluid.
Final Words
The location of the transmission pressure control solenoid will vary from vehicle to vehicle. However, they’re commonly found within the valve body inside the transmission.
If you’re thinking about replacing the solenoid on your own, be sure to go through this guide and the vehicle’s manual carefully before starting. Good luck with your endeavor!