Can You Replace AC Clutch Without Removing Compressor?
Whether it is a faulty AC clutch or wanting to access other components, if you are thinking of removing your AC clutch, then the best way is to do it by removing the compressor and then taking the clutch out.
But Can You Replace AC Clutch Without Removing Compressor? Yes, you can remove the clutch without attempting to remove the compressor.
That being said, the process is quite difficult, and you will need a certain amount of experience and knowledge to properly take out the clutch.
Here, we will discuss the steps that you can take to remove and replace the AC clutch without having to remove the compressor.
8 Step To Replacing the AC Clutch without Removing the Compressor
If you are confident without skills and expertise with car components, then here are the steps that you will need to follow to replace the ac clutch without removing the compressor from your car:
Step – 1: Take Proper Safety Precautions
Before you even start working towards the AC clutch, you will need to ensure that the AC system of your car has been turned off and disconnected from the battery.
Some might say just automatically turning off the system will take care of this step. But there have been cases where this was proved wrong.
Therefore, disconnect the negative terminal cable from the battery. This will ensure that you won’t suffer from any accidental electrical contact.
Step – 2: Assess the Clutch & Compressor Connection
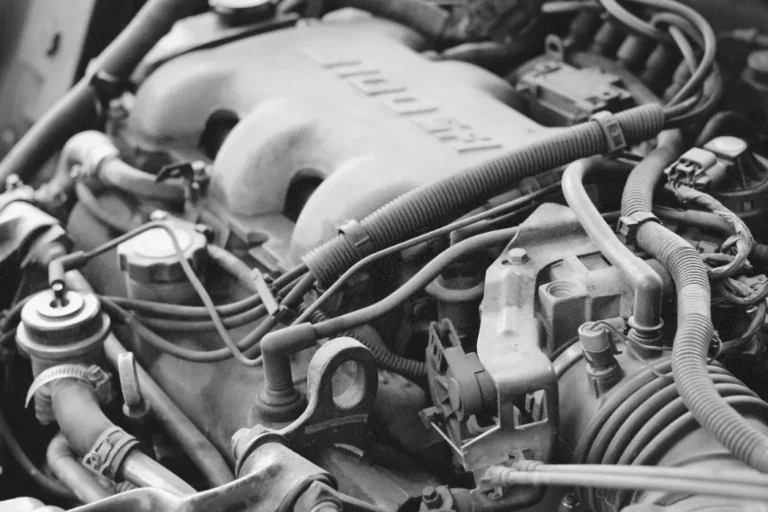
Once the battery is disconnected, you should move onto figuring out the location of the AC compressor and clutch. Typically, the compressor is mounted close to the engine and connected through a pulley.
Now look into the clutch assembly to figure out whether you can remove the clutch from the compressor or not. Most compressors come with the option to remove the clutch.
So, unless you have a very old model, you should be able to identify the clutch assembly and determine whether it can be removed from the compressor independently or not.
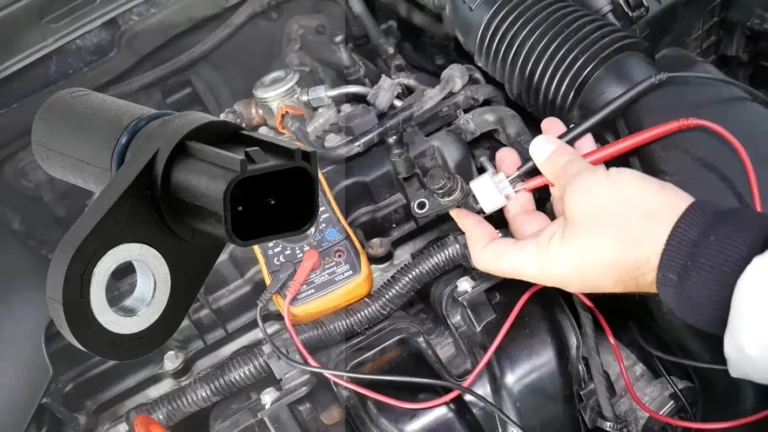
Step – 3: Removing the Electrical Connector
In the clutch assembly, there should be an electrical connector with wires connected to it from various angles. This connector is responsible for providing power to the clutch coil, so unless you disconnect it, you might end up damaging the clutch coil itself.
To disconnect the connector, simply press the release tab located on the connector. If the wires are entangled and you can’t reach them without damaging them, then you may have to opt for small tools that are made to release the locking system.
Once the release tab is pressed and the wires have disconnected, you can pull out the connector from the clutch assembly.
Make sure to do it carefully and not damage any of the wires.
Step – 4: Remove the Retaining Bolts
There are retaining bolts that secure the clutch assembly onto the shaft of the compressor. On most compressors, these bolts can easily be seen as they are placed in front of the compressor, meaning they face the grille of the vehicle.
So, grab a wrench or approach socket and start removing the bolts one by one. You should be turning them counterclockwise to remove them.
Depending on the compressor model, you may have one, two, or multiple bolts. Just removing one is the most effective option here.
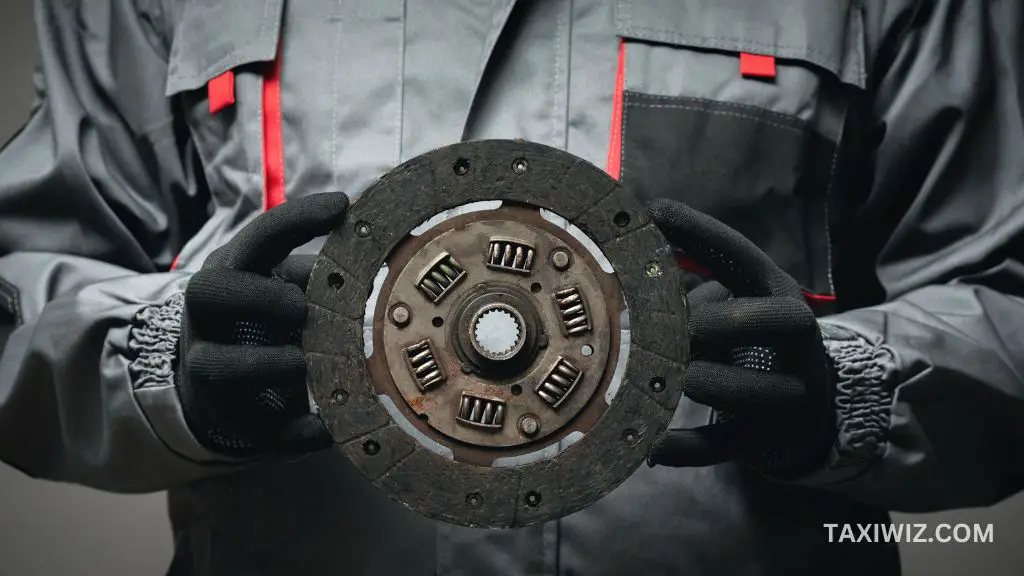
Step – 5: Take out the Clutch
If you have followed the previous steps correctly, then you should be able to take out the shaft by gently pulling it out.
Just pulling it straight out should be enough. Sometimes you might have to wiggle a bit, but you shouldn’t need to use too much force.
Be careful not to damage any of the surrounding parts when you are taking out the clutch.
Step – 6: Replacing with a New Clutch
Grab the new clutch that you want to install and check to see if it is identical to the design of the old one. Clutches differ from one model to another, so you can’t just put in a new clutch that wasn’t meant for your compressor model.
Alight the clutch with the compressor shaft and see to the fact that all the alignment pins and keyways are in the same line. Slide the clutch to the shaft, and you should push it until it is sitting perfectly.
Step – 7: Retrace the Previous Steps
Once the new clutch is in place, you will have to do everything you have done before but in reverse.
So, start off by putting back the retaining bolts. Don’t opt for any automatic screwdrivers for this. Put them in their respective holes and hand-tighten them.
Keep in mind not to over-tighten them. The torque of the retaining bolts is something that you shouldn’t ignore; consult the manufacturer’s guide that came with your car for details about this sector.
After the bolts are reinstalled, connect the electrical connector. Align the disconnected connecter with the clutch’s electrical connecter.
Then just press the two connectors together to lock them in place. You should hear a ‘Click’ sound, which will ensure that the connectors are locked together.
Step – 8: Test the AC System
When you are done reassembling, it’s time for you to check the AC system. Reconnect the battery, start the engine, and turn your AC on.
See if the clutch is engaging properly and whether you are hearing some unusual noises or vibrations while monitoring the cooling performance.
If everything seems right, then you have successfully changed your clutch without taking out the compressor. But when that is not the case, then you will have to retrace your steps and see where you have gone wrong and fix the issue.
Is Replacing the Clutch without Removing the Compressor the Most Optimal Approach?
No, it is not. Ideally, it is not recommended to replace the clutch without taking out the compressor. Here are the reasons why:
- Both Clutch & Compressor Have Identical Lifespan
As these two parts are intimately interconnected, when the clutch is showing signs of wear outor is faulty, then you can expect that the compressor will soon follow suit.
Therefore, replacing both of them is the most logical approach. And not only that, but you won’t be getting the most efficient and optimal performance if your clutch is brand new and the compressor is old and worn out.
- Risk to Other Components Due to Limited Access
If you are just taking out the clutch and not the compressor, then you are working with a very limited amount of space. This means the chances of making an error become extremely high, and you will need finesse and a proper understanding of the surrounding components to make any changes.
- Violating Warranty Terms
Most of the time, warranties and extended service plans will only cover the cost of replacement of the entire compressor but not just the clutch.
So, if you take out the clutch, then they won’t be giving your money for that damage, and you will be marked as a violator of the terms and services.
And as both AC compressor and clutch have a similar lifespan, you will soon face troubles with the compressor if you are just replacing the clutch now. So, if you have insurance, see if they cover individual parts replacement costs or not.
Frequently Asked Questions (FAQs)
Can I replace the AC clutch without removing the compressor?
You can, but it’s not recommended by experts.
Can a faulty AC clutch lead to a faulty compressor?
Yes, it can. Usually, if the clutch shows sign of damage or misfunction, the compressor soon follows the same path.
How long does it take to replace AC Clutch without removing the compressor?
It generally takes 4 to 6 hours for a professional mechanic to replace an AC clutch without removing the compressor.
Should I attempt a DIY AC clutch replacement?
Only if you are confident with your skills and have enough experience with AC system repairs.
Final Thoughts
You can replace AC clutch without removing the compressor. But you should keep in mind that it is quite difficult as one small mistake can lead to permanent damage to other engine components.
Compressors also degrade with the clutch, so you may soon encounter problems with your compress once you have installed a new clutch. So, opt for clutch replacement without removing the compressor if you are sure that it is the only way.